Honey Pepper Chicken Mac and Cheese might just be your new weeknight superhero. It’s that dish that checks all the boxes: comforting, cheesy, slightly spicy, sweet, protein-packed, and—bonus—meal prep–friendly. The star of the show is juicy chicken thighs air-fried to perfection and coated in a sticky honey pepper glaze. Pair that with creamy mac loaded with melty cheeses, and you’ve got a bowl of heaven. If you’re juggling kids, work, and whatever else life throws your way, this dish brings a little calm to the chaos. Oh, and it tastes like something you’d get at a fancy diner, but you made it in under an hour.
Table of Contents
What is Honey Pepper Chicken Mac and Cheese?
Honey Pepper Chicken Mac and Cheese is comfort food that took a hot girl walk through flavor town. It’s essentially a two-part dream team: tender, sweet-and-spicy glazed chicken and ultra-creamy, velvety mac and cheese. The chicken gets marinated in a bold sauce made with a keto honey substitute (yes, it still tastes amazing), pineapple juice, soy, spices, and a splash of vinegar.
Meanwhile, the mac is built on high-protein, low-carb pasta and a cheese combo that’s anything but basic—Velveeta, Laughing Cow wedges, shredded blends, and a splash of evaporated milk to tie it all together. It’s the kind of recipe that feels indulgent without blowing your calorie budget. Whether you’re prepping lunches for the week or feeding a picky crowd on a cold Tuesday, this dish gets you.
Reasons to Try Honey Pepper Chicken Mac and Cheese
Let’s be real—most of us don’t have time to whip up gourmet meals every night. That’s where Honey Pepper Chicken Mac and Cheese saves the day. First, it’s absolutely packed with flavor: sweet, spicy, cheesy, and just a little tangy. It satisfies cravings without the post-meal “why did I eat that” regret. Second, it’s built for meal prep.
This recipe makes four hearty servings that reheat beautifully, so it’s perfect for weekday lunches or dinners. Third, it’s family-friendly—especially if you swap in chicken breast for a lighter version or tweak the spice level. Bonus? It’s Weight Watchers–conscious (15 points) but tastes like something your cheat day would be proud of. This one’s a weeknight keeper.
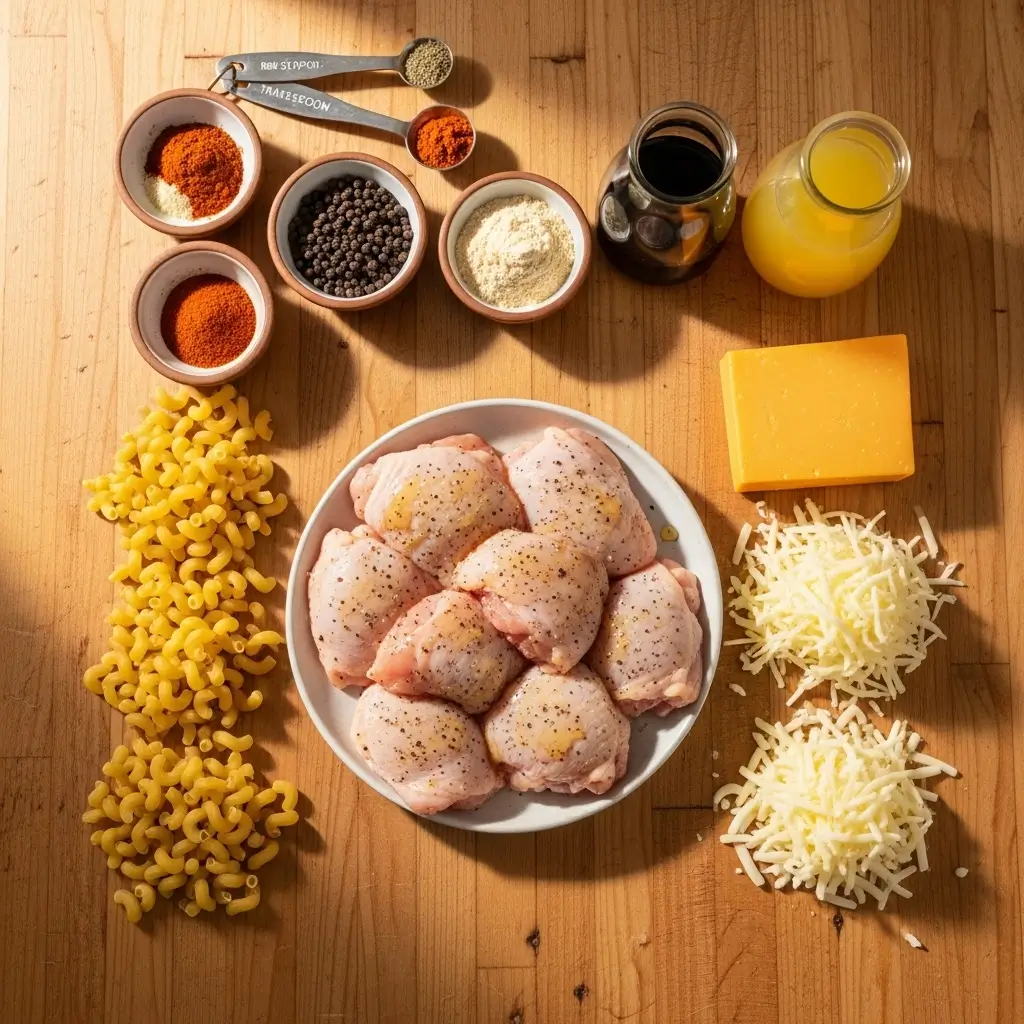
Ingredients Needed to Make Honey Pepper Chicken Mac and Cheese
Honey Pepper Chicken:
- 16 oz boneless skinless chicken thighs
- ¾ cup Wholesome Yum keto honey substitute
- ¼ cup 100% pineapple juice
- ¼ cup light soy sauce
- 2 tbsp Splenda brown sugar
- 3 tbsp apple cider vinegar
- ⅓ tsp black pepper
- 1 tsp garlic powder
- 1 tsp onion powder
- ¼ tsp cayenne pepper
Mac and Cheese:
- 8 oz dry Al Dente Carba Nada cavatappi pasta
- ⅜ cup lite shredded mozzarella (Trader Joe’s)
- ⅜ cup lite shredded 3-cheese blend (Trader Joe’s)
- 2 wedges Light Laughing Cow creamy cheese
- 2 tbsp grated Parmesan
- 1½ slices Velveeta cheese
- ½ cup fat-free evaporated milk
- 1 tsp black pepper
Instructions to Make Honey Pepper Chicken Mac and Cheese
If you’re ready to bring sweet, spicy, and cheesy flavors together in one comforting meal, follow this step-by-step guide to making the ultimate Honey Pepper Chicken Mac and Cheese. Whether you’re a seasoned home cook or just starting out, each step is designed to be simple, stress-free, and packed with tips to make your kitchen time smoother.
Step 1: Cut and Marinate the Chicken
Start by trimming any excess fat from your boneless, skinless chicken thighs. Then, dice the meat into bite-sized chunks—about 1-inch pieces work best for even cooking and easy serving. Place the pieces into a mixing bowl and set them aside.
Now it’s time to make your sauce. In a small saucepan, whisk together:
- Keto honey substitute
- Pineapple juice
- Light soy sauce
- Splenda brown sugar
- Apple cider vinegar
- Garlic powder, onion powder, black pepper, and a touch of cayenne
Bring the mixture to a quick boil over medium-high heat—just until it bubbles—then remove it from heat. This brings all the flavors together and creates a sweet, tangy glaze. Pour just under half of the sauce over your raw chicken, mix well to coat, and let it marinate in the fridge for 15 to 30 minutes. While that rests, you can move on to the next prep steps.
If you’re new to marinating or need ideas for ingredient swaps, check out our easy chicken prep tips for more guidance.
Step 2: Cook the Chicken in the Air Fryer
Once your chicken has had time to soak up all that flavor, preheat your air fryer to 400°F. Working in two batches, cook the chicken for 15 minutes each, making sure to shake the basket halfway through for even browning.
This step-by-step method ensures the chicken comes out tender on the inside and slightly crisp and caramelized on the outside—just the way we like it. If you don’t have an air fryer, no worries! You can bake the chicken on a lined baking sheet in a 400°F oven for about 20–25 minutes, flipping halfway through.
Looking for more air fryer meals that save time and deliver flavor? Try our Cowboy Chicken Bites for another protein-packed idea.
Step 3: Boil the Pasta
While the first batch of chicken is cooking, bring a large pot of salted water to a boil. Add your Carba Nada cavatappi pasta (or any preferred high-protein, low-carb pasta) and cook it until al dente, following the package instructions.
Once cooked, drain the pasta using a strainer and return it to the warm pot. This helps keep the noodles hot, which makes melting the cheese easier in the next step.
If you’re curious about pasta alternatives or gluten-free swaps, check out our article on easy ingredient substitutions to explore more options.
Step 4: Make the Mac and Cheese Sauce
Now for the best part—the cheese. With the drained pasta still in the pot, pour in the fat-free evaporated milk and begin adding your cheeses:
- Lite shredded mozzarella
- Lite 3-cheese blend
- Laughing Cow creamy cheese wedges
- Velveeta (cut into chunks)
- Grated Parmesan
- A pinch of black pepper for seasoning
Stir continuously over low heat until everything melts together into a creamy, cheesy dream. This step-by-step cheese-melting method prevents clumps and helps the sauce coat the noodles evenly.
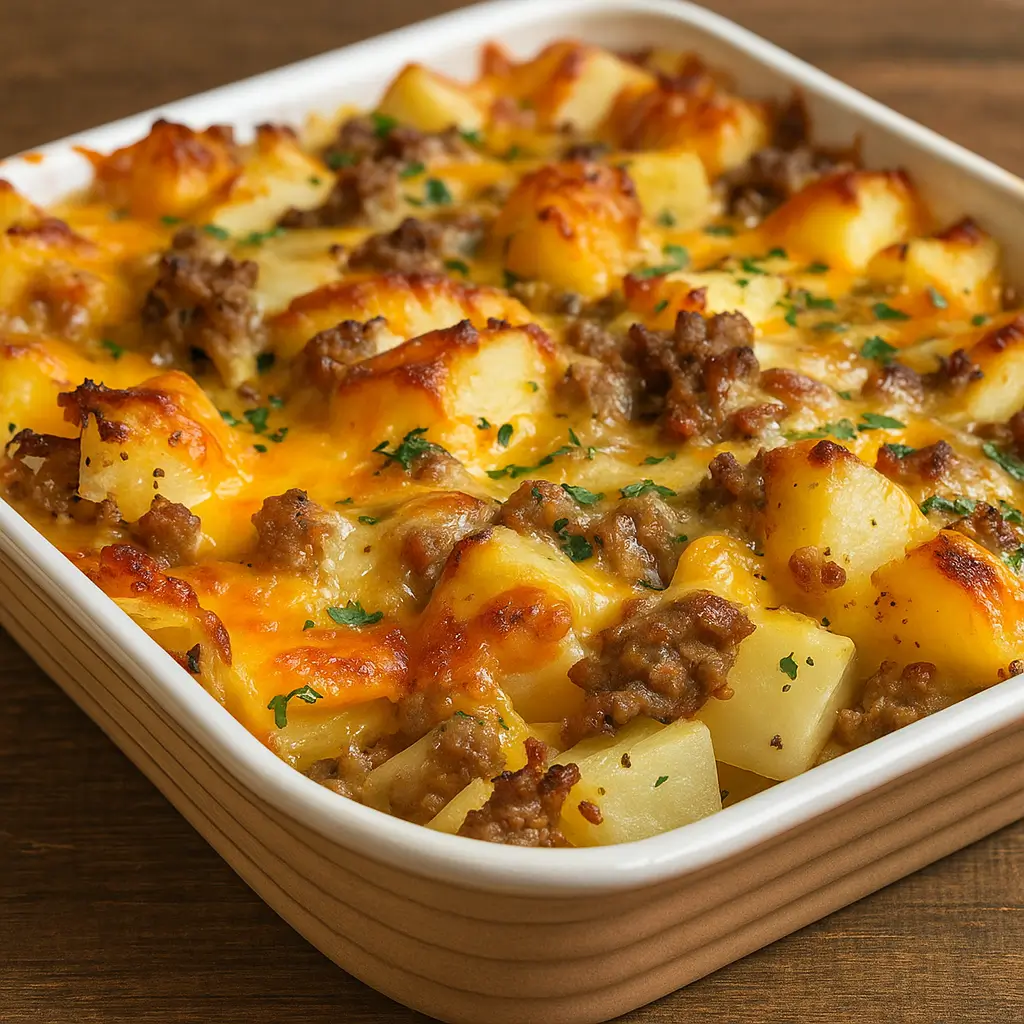
For even more cozy pasta ideas, try our Cheesy Mac and Cheese Meatloaf Casserole—it’s a family favorite.
Step 5: Glaze the Chicken
Once all your chicken is cooked and your cheese sauce is bubbling, it’s time to bring back the rest of the honey pepper glaze. Reheat the remaining sauce briefly on the stove (just until warm) and pour it over the cooked chicken in a clean bowl.
Toss to coat every piece so the chicken gets that glossy, sticky finish. This final glaze step locks in the sweet-heat flavor and makes every bite irresistible.
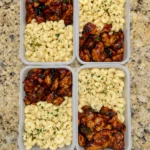
Step 6: Assemble and Serve
You’re almost there! In your meal prep containers or dinner bowls, add a generous portion of mac and cheese. Then, spoon the honey pepper chicken on top. Garnish with a little parsley if you’re feeling fancy or just hungry.
Want to level up your presentation or serve this for guests? You could pair it with a fresh green salad or some roasted veggies. Or serve it alongside Spicy Brazilian Coconut Chicken for a sweet and spicy dinner spread.
What to Serve with Honey Pepper Chicken Mac and Cheese
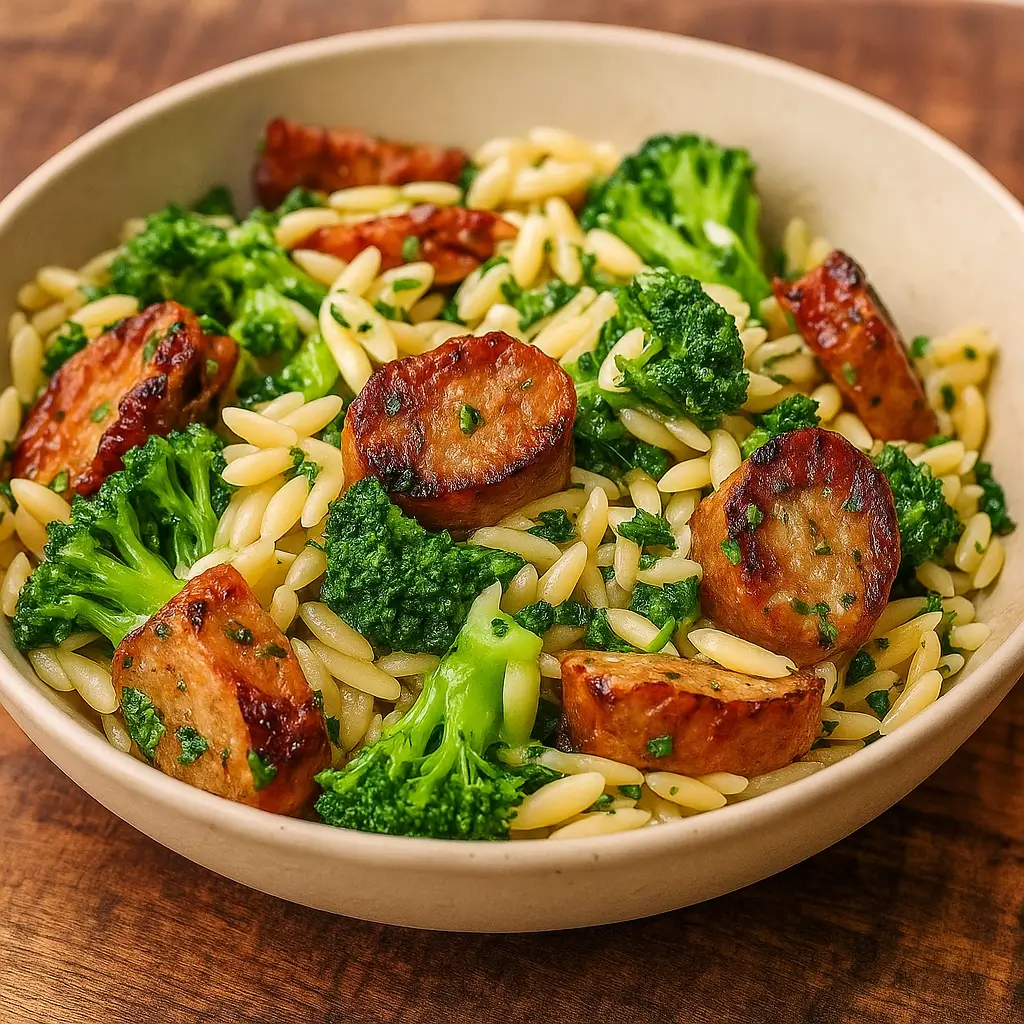
This dish is a full-on meal by itself, but if you’re feeling extra, serve it with a crisp green salad to balance out the richness. Think something like a lemony arugula salad or even a crunchy slaw. Garlic bread? Not necessary—but we’re not judging if it shows up on the table. For a cozy twist, you could also pair it with a veggie-forward side like Chicken Sausage and Broccoli Orzo or One-Pot Spinach Tomato Tortellini. Basically, anything that contrasts the creamy-cheesy goodness.
Key Tips for Making Honey Pepper Chicken Mac and Cheese
- Chicken Swap: Want to lighten it up? Use boneless, skinless chicken breast instead of thighs.
- Control the Heat: If you’re spice-sensitive, cut the cayenne in half. Or, if you’re brave, double it.
- Cheese Matters: Don’t skip the Velveeta—it helps make the sauce super creamy.
- Air Fryer FTW: Don’t have one? Bake your chicken at 400°F for 20-25 minutes, flipping halfway.
- Meal Prep Ready: Let everything cool before assembling your containers so nothing gets soggy.
Storage and Reheating Tips Honey Pepper Chicken Mac and Cheese
Store your cooked mac and chicken in separate sections of airtight containers for up to 4 days. When reheating, splash a bit of milk over the pasta before microwaving—it brings the creaminess back. You can also reheat on the stove over low heat if you’ve got a few extra minutes. The chicken reheats beautifully, and the glaze keeps it moist. If freezing, just know the sauce may separate slightly, but a gentle reheat with added moisture helps fix that. It’s one of those meals that honestly tastes even better the next day.
FAQs
Can I make this low-carb?
Yes! Use a low-carb pasta (like the original Carba Nada) and a sugar-free honey substitute.
Is it spicy?
Mildly! The cayenne gives it a little heat, but it’s balanced by the honey and pineapple.
Can I use real honey instead of a substitute?
Absolutely. Just note it’ll raise the sugar and calorie count a bit.
Can I use leftover chicken?
Sure! Just reheat it with the sauce. But air-fried fresh chicken is chef’s kiss.
Final Thoughts
Honey Pepper Chicken Mac and Cheese is one of those comforting, crave-worthy meals that feels like a warm hug in a bowl. It’s meal-prep gold, picky-eater–approved, and a little sweet, a little spicy, and totally satisfying. Whether you’re trying to spice up your lunch routine or need something crowd-pleasing for dinner, this one’s worth bookmarking. Looking for more flavor-packed meal ideas? Don’t miss our Crockpot Butter Chicken or Mediterranean Chicken Bowl next!
Visit our Pinterest for regular slow cooker recipe updates, or join our Facebook discussions where cooking fans exchange their favorite hearty meal ideas.
PrintHoney Pepper Chicken Mac and Cheese Recipe for Easy Meal Prep
Meal prep just got a serious upgrade! These Honey Pepper Chicken Mac and Cheese bowls are the perfect balance of sweet, spicy, and cheesy goodness. Juicy air-fried chicken thighs coated in a tangy honey pepper glaze, paired with creamy, high-protein mac and cheese for the ultimate comfort food fix.
- Prep Time: 30 minutes
- Cook Time: 45 minutes
- Total Time: 1 hour 15 minutes
- Yield: 4 servings
- Category: Main Course
- Method: Air Fryer, Stovetop
- Cuisine: American
Ingredients
Honey Pepper Chicken:
- 16 oz Boneless Skinless Chicken Thighs
- 3/4 cup Wholesome Yum Keto Honey Substitute
- 1/4 cup 100% Pineapple Juice
- 1/4 cup Light Soy Sauce
- 2 tbsp Splenda Brown Sugar
- 3 tbsp Apple Cider Vinegar
- 1/3 tsp Black Pepper
- 1 tsp Garlic Powder
- 1 tsp Onion Powder
- 1/4 tsp Cayenne Pepper
Mac and Cheese:
- 8 oz Al Dente Carba Nada Cavatappi (dry)
- 3/8 cup Lite Shredded Mozzarella (Trader Joe’s)
- 3/8 cup Lite Shredded 3 Cheese Blend (Trader Joe’s)
- 2 wedges Light Laughing Cow Creamy Cheese
- 2 tbsp Grated Parmesan
- 1–1/2 slices Velveeta Cheese
- 1/2 cup Fat Free Evaporated Milk
- 1 tsp Black Pepper
Instructions
1. Cut chicken into bite-sized pieces and place in a bowl.
2. Whisk sauce ingredients in a small saucepan, bring to a quick boil, then remove from heat.
3. Pour just under half of the sauce over the chicken, stir to coat, and refrigerate to marinate for 15–30 minutes.
4. While marinating, prep your cheeses: grate parmesan, measure shredded cheeses, open cheese wedges, and tear Velveeta.
5. Air fry chicken in two batches at 400°F for 15 minutes each, shaking or stirring halfway through. Transfer cooked chicken to a clean mixing bowl.
6. While the first chicken batch is cooking, boil the pasta until al dente. Drain and return to the pot.
7. Add evaporated milk, all cheeses, and black pepper to the pasta. Stir until melted and creamy.
8. Reheat the remaining sauce and pour it over the cooked chicken. Stir to evenly coat.
9. Assemble bowls or containers: layer mac and cheese first, then honey pepper chicken on top.
10. Optional: garnish with parsley. Enjoy immediately or store for meal prep.
Notes
Total of 15 Weight Watchers points per serving.
Swap in chicken breast for fewer calories and points.
For added color, toss in sautéed spinach or steamed broccoli.
Use reduced-sodium soy sauce to control salt content.
Perfect for weekly meal prep—store in airtight containers for up to 4 days in the fridge.