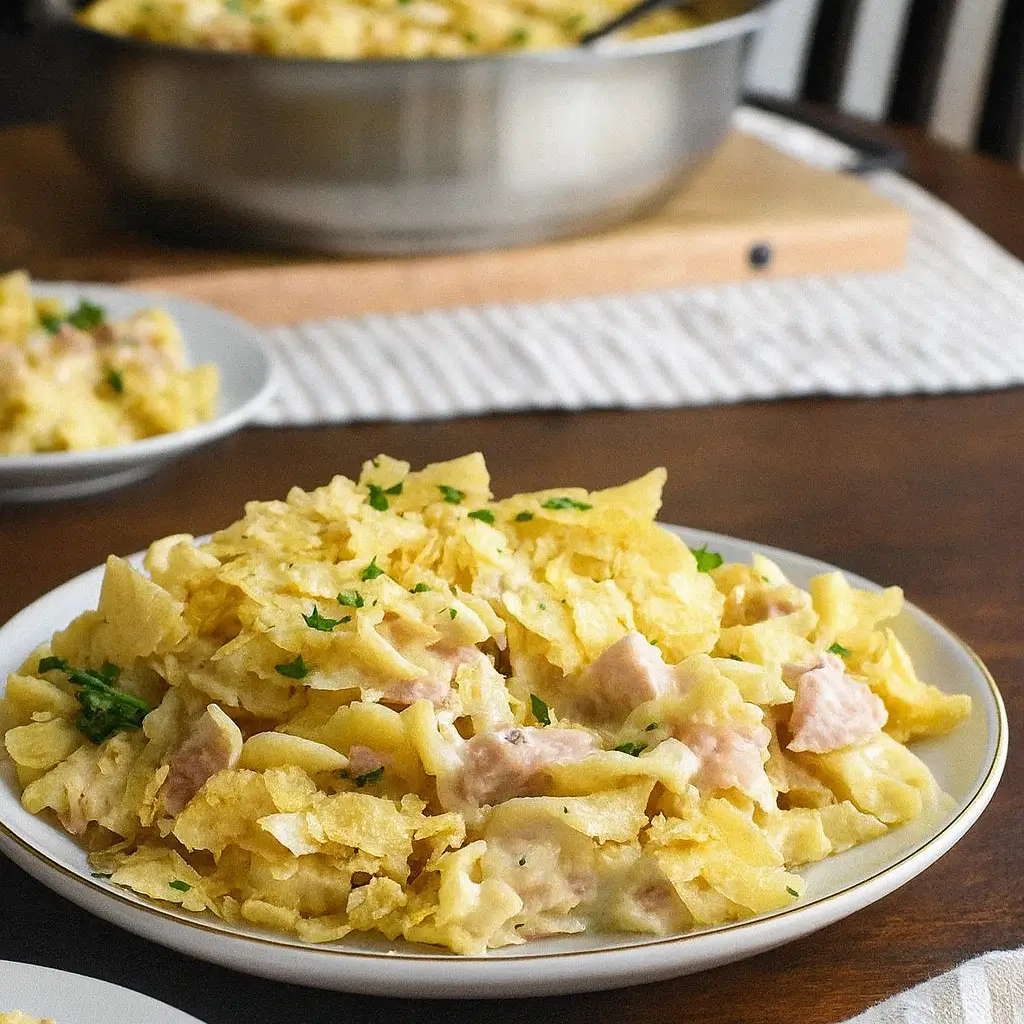
Homemade Tuna Helper is your new weeknight dinner hero. Whether you’re feeding picky eaters, cleaning out the pantry, or just flat-out exhausted, this creamy, cheesy, ultra-satisfying dish has your back. The best part? It blows the boxed version out of the water—and doesn’t require anything fancy. All you need is some shell pasta, a can of tuna, and a few kitchen staples you probably already have.
It’s rich and comforting, but not too heavy, and comes together faster than you can yell, “Dinner’s ready!” Homemade Tuna Helper is the kind of meal you’ll find yourself making again and again—especially once you see how fast your family devours it. And yes, even that one kid who “doesn’t like fish.”
Table of Contents
What is Homemade Tuna Helper?
Homemade Tuna Helper is a nostalgic, no-fuss dinner idea inspired by the classic boxed meal—just better in every single way. If you grew up on the store-bought version, you’ll love this fresher, cheesier take. It starts with shell pasta (because they’re the perfect little cups for holding sauce), and gets coated in a creamy cheddar-Parmesan sauce that’s loaded with savory goodness.
Add in a can of tuna and you’ve got a full meal in one pot. No mystery ingredients, no powdered sauce mix—just real food that comes together in under 40 minutes. If you’re craving a warm, cozy dinner without much effort, this recipe delivers all the comfort with none of the processed stuff.
Reasons to Try Homemade Tuna Helper
Here’s the thing about Homemade Tuna Helper—it just makes life easier. First, it’s super budget-friendly. We’re talking pantry-staple-level cheap. Tuna? Check. Pasta? You’ve got some. Butter, broth, cheese? Pretty much always hanging out in the fridge. Second, it’s fast. Like, put-your-comfy-pants-on-and-still-have-dinner-ready kind of fast.
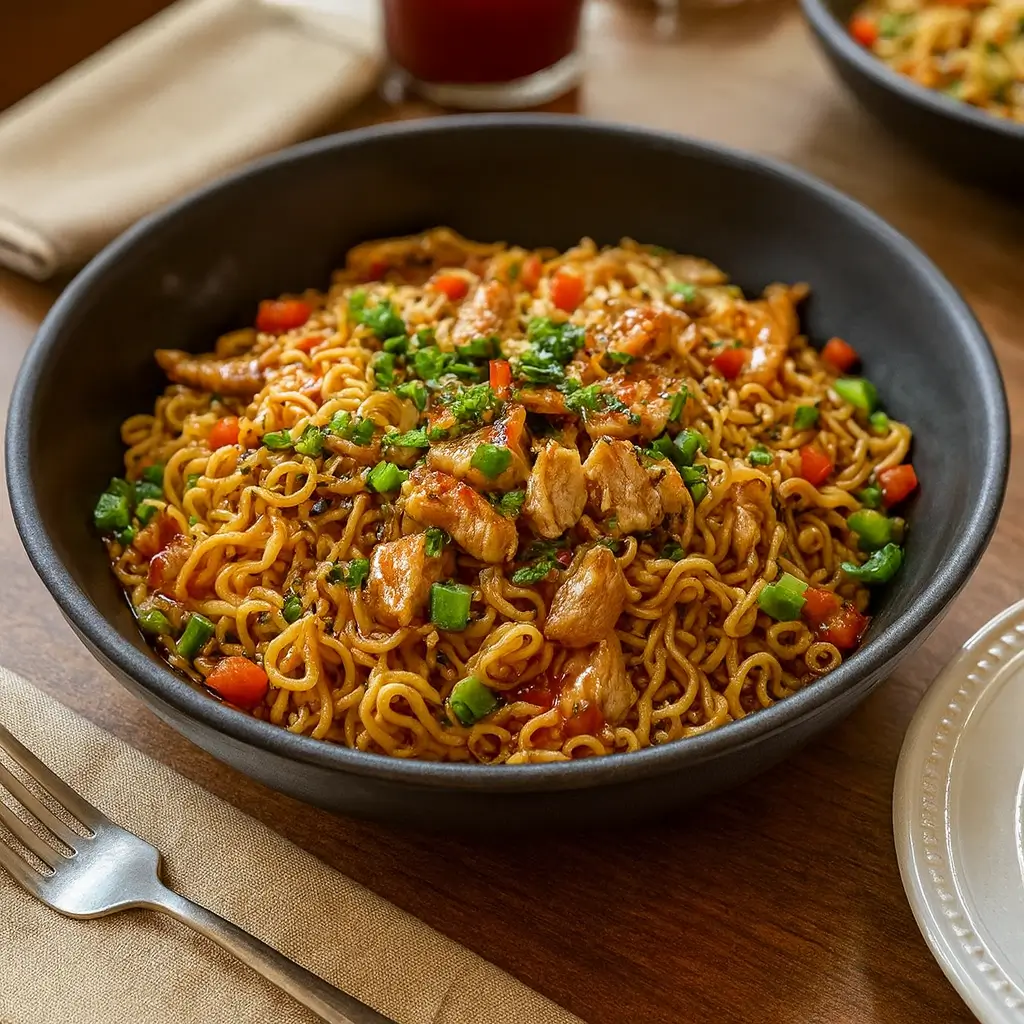
Finally, it’s flexible. Not a fan of tuna? Swap it out with shredded rotisserie chicken. Want to sneak in veggies? Toss in some peas or spinach. You get all the cheesy satisfaction of a casserole without turning on the oven. Oh, and kids? They’ll be too busy asking for seconds to even notice it’s got fish in it.
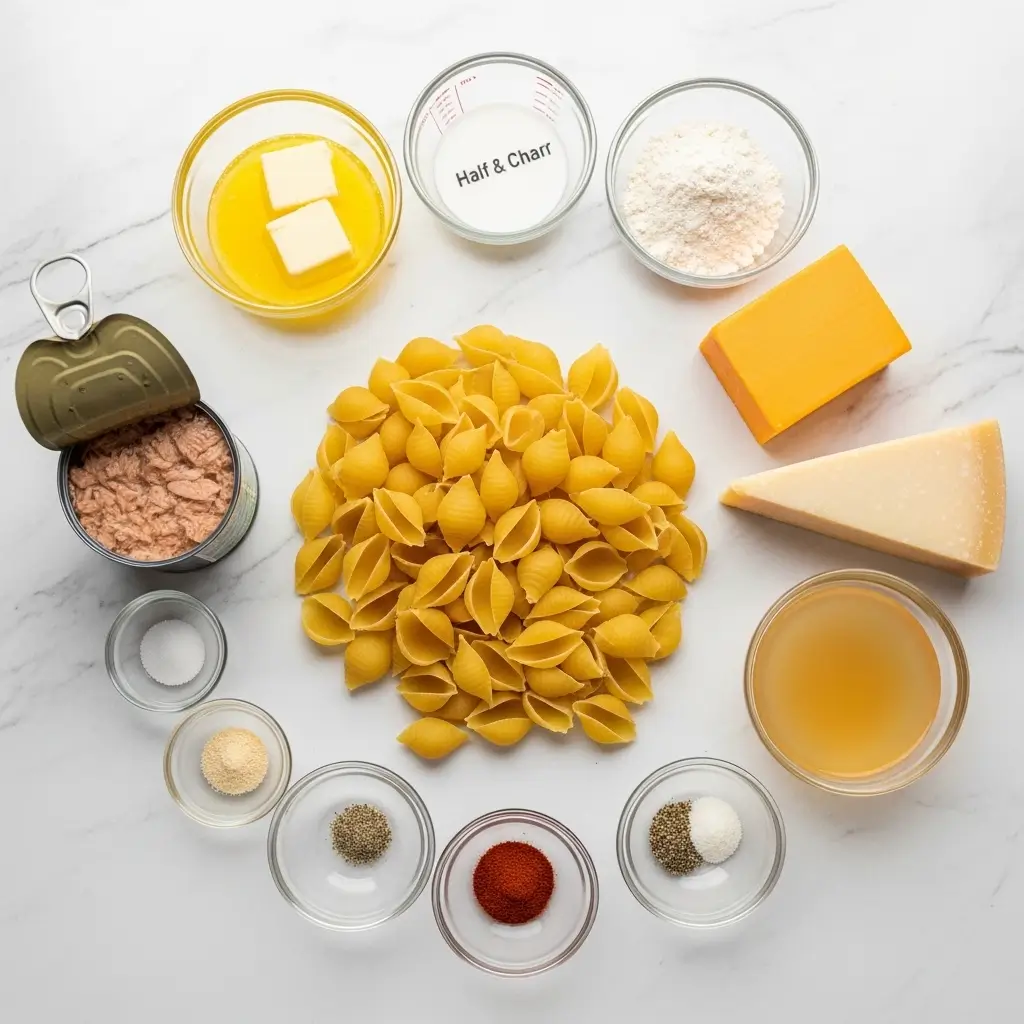
Ingredients Needed to Make Homemade Tuna Helper
- 12 ounces medium shell pasta
- 4 tablespoons salted butter
- 1/4 cup all-purpose flour
- 1 teaspoon onion powder
- 1 teaspoon garlic powder
- 1/2 teaspoon salt
- 1/2 teaspoon ground black pepper
- 2 cups chicken broth
- 1 cup half and half (room temperature)
- 2 cups shredded cheddar cheese
- 1 cup grated Parmesan cheese (fresh is best)
- 1 (12 oz) can of chunk tuna, drained
Instructions to Make Homemade Tuna Helper
Let’s walk through the step-by-step process for making this creamy, cheesy, pantry-friendly Homemade Tuna Helper. Whether you’re a seasoned home cook or just figuring out dinner after a long day, this guide makes it easy. You’ll get rich flavor without fuss—and it all comes together in one pot. Now that’s weeknight magic.
Looking for helpful tips before you dive in? Check out our Ingredient Substitution Guide if you’re short on something, or want to tweak it for your family’s taste.
Step 1: Boil the Pasta
Bring a large pot of water to a rolling boil and add a generous pinch of salt—it helps flavor the pasta from the inside out. Add 12 ounces of shell pasta (or your favorite shape, like elbows or rotini) and cook until al dente, which means firm to the bite. This usually takes about 7–8 minutes, but follow your package directions to be sure. Once done, drain the pasta and set it aside. Don’t rinse—it helps the sauce stick better later.
Pro Tip: Want a sneak peek at pasta alternatives or low-carb swaps? Visit our low-carb unstuffed cabbage casserole for ideas that still satisfy.
Step 2: Start the Roux (Butter + Flour Magic)
In the same pot (less dishes—yay!), melt 4 tablespoons of salted butter over medium heat. Once melted and bubbling slightly, whisk in 1/4 cup of all-purpose flour to create a smooth, thick paste. This is called a roux, and it’s what makes your sauce luxuriously thick.
Keep whisking for about 1–2 minutes until the mixture turns golden and smells a bit nutty. This step is small but mighty—it’s the flavor base of your sauce and keeps it from turning out grainy.
Step 3: Season the Base
Add 1 teaspoon each of onion powder and garlic powder, plus 1/2 teaspoon each of salt and black pepper to your roux. Stir these spices into the mixture until fully blended. These pantry spices create that warm, familiar comfort food flavor we all crave. Feel free to adjust the seasonings based on your taste buds—especially if you’re using low-sodium broth or unsalted butter.
Want to dig deeper into kitchen seasoning basics? Our guide on hearty beef cowboy casserole offers similar warm flavor profiles.
Step 4: Pour in the Broth—Gradually!
Now it’s time to build the sauce. Slowly pour in 2 cups of chicken broth, whisking continuously as you go. This is important—pouring too fast or not whisking can lead to lumps (and no one wants that). Keep stirring until the sauce begins to simmer and thicken. You’re looking for a smooth texture that lightly coats the back of a spoon.
If you’re out of chicken broth, check our easy million dollar chicken casserole for ideas on how to use bouillon or homemade stock instead.
Step 5: Stir in Half and Half
Reduce the heat to low and gently stir in 1 cup of room-temperature half and half. Again, whisk as you pour to prevent curdling. Let the sauce gently simmer until it thickens a bit more. You’ll know it’s ready when it’s creamy and rich, but not too heavy—think mac and cheese vibes.
Room-temp dairy is key. Cold half and half straight from the fridge can cause the sauce to break. Set it out ahead of time while prepping your other ingredients.
Step 6: Add the Cheese
Turn off the heat and slowly stir in 2 cups of shredded cheddar and 1 cup of freshly grated Parmesan. Stir until everything is fully melted and the sauce turns gloriously gooey. This step adds depth, richness, and that cheesy pull we all secretly live for.
If your kids are cheese lovers, this moment is where you’ll win them over—just like we do in our best tuna casserole.
Step 7: Add the Tuna and Pasta
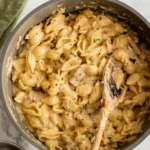
Gently fold in the drained 12 oz can of chunk tuna and your cooked pasta. Stir until everything is evenly coated with sauce. At this point, your Homemade Tuna Helper should be creamy, comforting, and ready to eat. You can break the tuna into smaller pieces with your spoon if you like a finer texture, or leave it chunky for heartier bites.
If you want to sneak in some greens, this is the perfect moment to toss in a handful of frozen peas or chopped spinach—no judgment, just bonus nutrients.
Step 8: Optional Garnish and Serve
Once everything is mixed and melty, you’re good to go. You can serve it straight from the pot or plate it family-style. If you’re feeling fancy, top with fresh parsley, a crack of black pepper, or a sprinkle of extra cheese. Need a great side idea? Try it with slow cooker Lipton onion potatoes or a quick green salad.
What to Serve with Homemade Tuna Helper
Homemade Tuna Helper is pretty much a meal in itself, but if you want to round things out, a crisp side salad with a lemony vinaigrette adds some brightness. Garlic bread? Always a yes. And if you’ve got a little more time (and an extra burner), throw together some steamed green beans or roasted broccoli for a veggie boost. Want a cozy all-in-one dinner night? Pair it with a bowl of this cabbage soup with hamburger for extra comfort. Oh, and if it’s one of those “need chocolate now” nights, a batch of fudgy flourless sweet potato brownies makes a sweet ending.
Key Tips for Making Homemade Tuna Helper
- Don’t skip the roux: It’s the secret to a silky sauce that doesn’t separate.
- Use room-temp half and half: Cold dairy can make your sauce curdle—nobody wants that.
- Go for block cheese: Shred it yourself. Pre-shredded cheese has a coating that keeps it from melting smoothly.
- Taste and season: Depending on your broth, you may want a pinch more salt or pepper.
- Want more veggies? Add frozen peas or sautéed mushrooms right into the mix. It’s flexible like that.
Storage and Reheating Tips for Homemade Tuna Helper
Got leftovers? Lucky you! Store your Homemade Tuna Helper in an airtight container in the fridge for up to 3 days. When reheating, add a splash of milk or broth to bring the sauce back to life—it thickens in the fridge. A quick zap in the microwave (about 1-2 minutes, stirring halfway through) works great, or you can warm it gently on the stovetop over low heat. This dish doesn’t freeze super well due to the dairy, but if you must, make sure it’s tightly sealed and eat within a month. Just know it might separate a bit when thawed, so stir it like you mean it.
FAQs
Can I use a different kind of pasta?
Absolutely. Elbows, rotini, penne—all work. Just go for a shape that holds sauce well.
Is there a way to make this lighter?
You can use low-fat milk instead of half and half and reduce the cheese a bit. But honestly, this is comfort food—it’s supposed to be cozy!
What if I don’t like tuna?
Swap it with canned chicken, leftover rotisserie, or even cooked ground beef. It’ll still be delicious.
Can I make this gluten-free?
Yep—just use your favorite GF pasta and a gluten-free flour for the roux.
How do I add veggies without complaints from the kids?
Stir in finely chopped spinach or zucchini—they’ll barely notice. Cheese makes everything friendlier.
Final Thoughts
Homemade Tuna Helper is the ultimate busy-weeknight dinner: fast, comforting, and made with real ingredients. It’s like a hug in a bowl that the whole family actually agrees on (how often does that happen?). Whether you’re meal prepping or just need something to save your sanity after a long day, this recipe comes through with creamy, cheesy goodness. Next time you’re tempted to grab the boxed stuff—don’t. You’ve got something way better right here.
Visit our Pinterest for regular slow cooker recipe updates, or join our Facebook discussions where cooking fans exchange their favorite hearty meal ideas.
PrintEasy Homemade Tuna Helper – Delicious in Under 40 Minutes
Homemade Tuna Helper is so much better than the boxed stuff! Plus, it’s super quick and easy to make with a handful of simple ingredients that you might already have on hand. Tender bites of shell pasta are nestled into the best creamy, cheesy sauce with plenty of tuna!
- Prep Time: 10 minutes
- Cook Time: 25 minutes
- Total Time: 35 minutes
- Yield: 4 servings
- Category: Main Course
- Method: Stovetop
- Cuisine: American
Ingredients
- 12 ounces medium shell pasta
- 4 tablespoons salted butter
- 1/4 cup all purpose flour
- 1 teaspoon onion powder
- 1 teaspoon garlic powder
- 1/2 teaspoon salt
- 1/2 teaspoon ground black pepper
- 2 cups chicken broth
- 1 cup half and half, at room temperature
- 2 cups shredded cheddar cheese
- 1 cup grated Parmesan cheese, freshly grated
- 1 (12 oz) can chunk tuna, drained
Instructions
1. Cook the pasta in a large pot according to the package instructions until it’s al dente. Drain the pasta and set it aside.
2. Melt the butter in the same pot over medium heat and stir in the flour mixing continuously to make a roux. Mix in the onion powder, garlic powder, salt, and pepper.
3. Gradually pour in the chicken broth while stirring constantly to avoid lumps. Continue stirring until the sauce starts to simmer and thickens a bit.
4. Lower the heat and pour in half and half, stirring constantly until the sauce starts to simmer again and is thick enough to coat the back of a spoon.
5. Turn off the heat and gradually stir in the cheddar and parmesan cheese until melted.
6. Add the cooked pasta and tuna to the sauce and mix until everything is coated evenly.
7. Garnish with freshly chopped parsley if desired.
Notes
Use any short pasta shape you prefer like rotini or penne.
For a lighter version, substitute milk for the half and half.
Add frozen peas or corn for extra flavor and texture.
This dish reheats well and makes great leftovers.