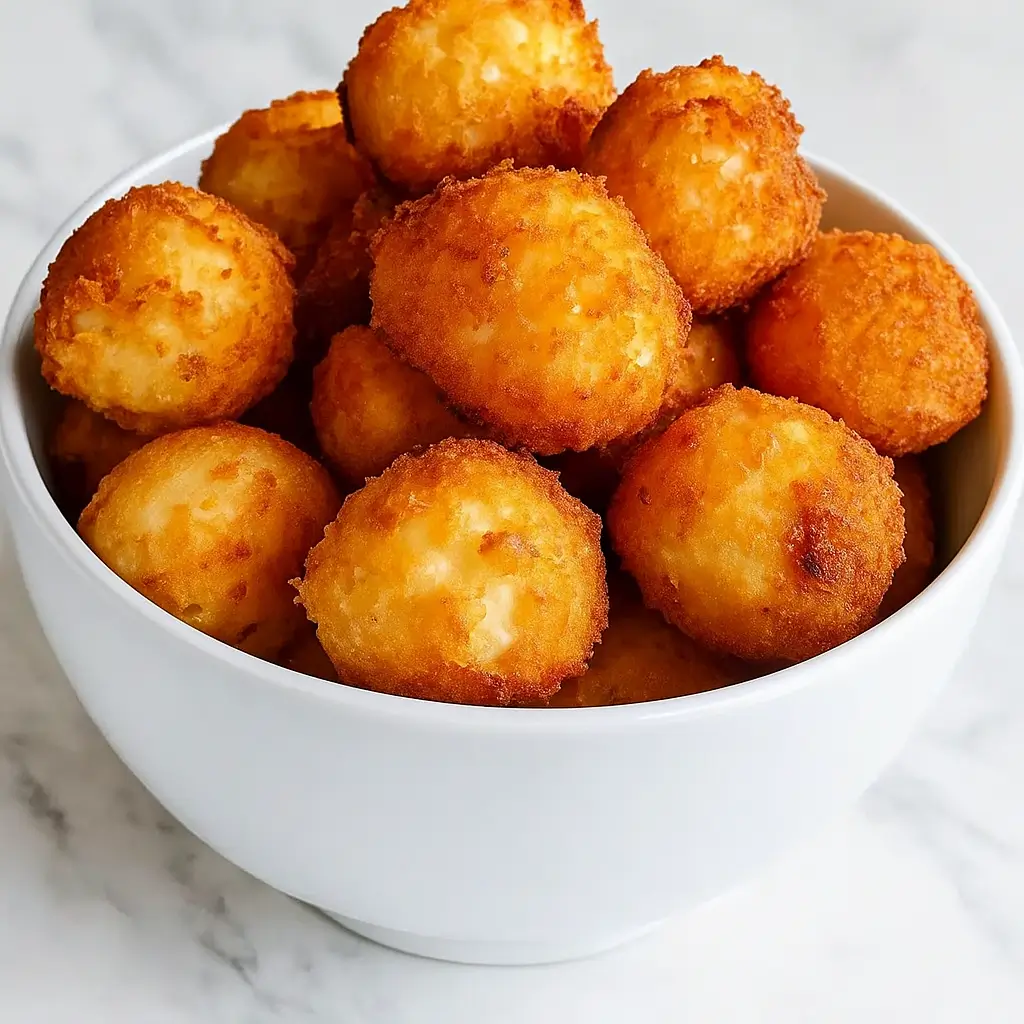
Perfect Gluten-Free Hushpuppies are exactly what your cozy weeknight dinner—or Sunday fish fry—has been missing. Picture this: warm, golden, crispy-on-the-outside hushpuppies with a fluffy, savory center that just happens to be gluten-free. No gritty texture, no dry crumbs, and definitely no one missing the gluten.
If you’ve ever had hushpuppies that tasted like fried rocks or sweet cornbread gone rogue, let’s just say this recipe will change your mind (and possibly your weekend plans). These little fried gems are simple, satisfying, and surprisingly quick to whip up. Whether you’re living gluten-free or just dabbling in it for a friend or family member, the Perfect Gluten-Free Hushpuppies deliver bold flavor, killer texture, and a nostalgic comfort food vibe—without the gluten drama. Ready to dip in?
Table of Contents
What is Perfect Gluten-Free Hushpuppies?
Perfect Gluten-Free Hushpuppies are a Southern-inspired side dish made by deep-frying a simple cornmeal-based batter until it’s perfectly golden brown. Traditionally served with fried fish or BBQ, hushpuppies are beloved for their crispy crust and tender, flavorful center. In this version, we swap out traditional flour with gluten-free flour blends and cornmeal alternatives to make them safe for those with gluten intolerance—without losing the delicious character that makes hushpuppies so addictive.
They’re seasoned just right, subtly sweetened, and loaded with finely chopped onions for a savory twist. If you’ve avoided hushpuppies because of gluten, it’s time to reclaim this classic. Gluten-free doesn’t mean joy-free, and these hushpuppies are proof that everyone deserves a side of fried, fluffy bliss.
Reasons to Try Perfect Gluten-Free Hushpuppies
If you’ve been burned by bad gluten-free baking (you know—those dry, sad attempts that taste like cardboard), these hushpuppies are your redemption. First off, they’re really easy. No weird flours you can’t pronounce. Just pantry basics with a couple gluten-free tweaks. They come together in one bowl, fry up fast, and taste like the real Southern deal. Plus, they’re super versatile. Serve them as a side, an appetizer, or a snack when the craving hits. Bonus? Kids usually love them.
Even picky eaters who side-eye anything not shaped like a nugget. Also, they’re naturally dairy-free and vegetarian, so they fit a variety of diets. Whether you’re trying to impress at a potluck or just want a fun side to go with soup, chili, or fried fish, these Perfect Gluten-Free Hushpuppies are a sure bet.
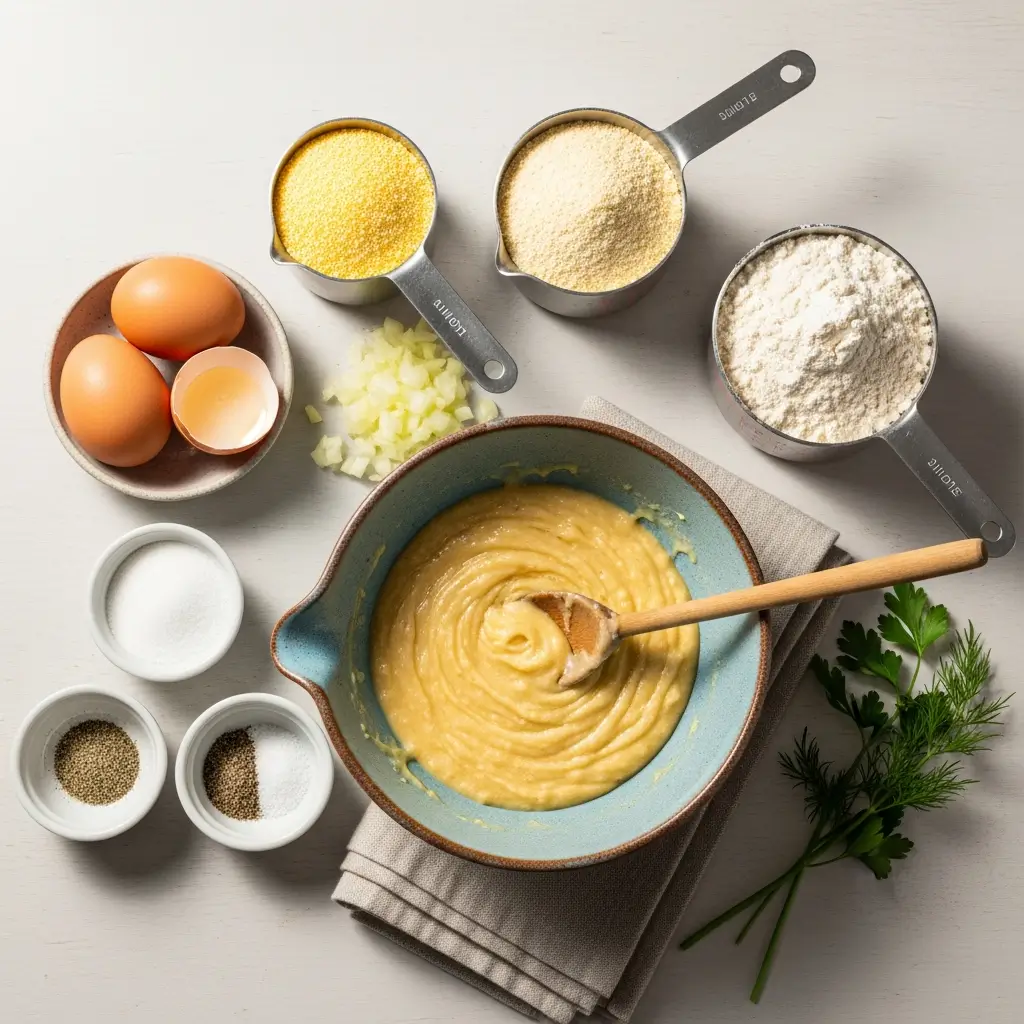
Ingredients Needed to Make Perfect Gluten-Free Hushpuppies
- 2 large eggs, room temp
- ½ cup granulated sugar
- 1 medium onion, finely chopped (or grated for finer texture)
- ½ cup gluten-free cornmeal (or masa harina as a backup)
- ½ cup gluten-free all-purpose flour blend (with xanthan or guar gum)
- Salt and pepper to taste
- Vegetable or canola oil for deep frying
- Optional: dipping sauce like tartar, spicy aioli, or honey mustard
Instructions to Make Perfect Gluten-Free Hushpuppies
Making Perfect Gluten-Free Hushpuppies at home is easier than you might think, especially when you follow this step-by-step guide. Whether you’re a frying pro or just getting started in the kitchen, this method breaks it all down with clear, helpful tips along the way. You’ll go from raw ingredients to hot, crispy hushpuppies in no time. Let’s dive in—step by step.
Step 1: Beat the Eggs and Sugar Together
Start by grabbing a large mixing bowl. Crack in two large eggs—make sure they’re at room temperature. Why? Because room-temp eggs mix more smoothly and help your batter become light and airy. Add in ½ cup of granulated sugar, and whisk until the mixture becomes pale and slightly frothy. This step adds just enough sweetness and structure to balance out the savory flavors. Using a hand mixer? That works too, just don’t over-whip—we’re not making meringue here.
If you’re new to baking gluten-free, check out our gluten-free pantry staples guide to get set up with all the essentials.
Step 2: Mix in the Onion
Now take 1 medium onion, finely chopped (or grated if you prefer a softer bite). Stir it into your egg mixture until it’s well blended. This onion brings classic hushpuppy flavor and keeps things from getting too sweet. If your onion is especially watery, give it a light squeeze with a paper towel before adding it. This helps control the moisture in the batter.
Need help chopping without crying? Our simple kitchen hacks post has tricks to keep the tears away.
Step 3: Combine Your Dry Ingredients
In a separate small bowl, measure out ½ cup of gluten-free cornmeal and ½ cup of gluten-free all-purpose flour blend. Add salt and pepper to taste—we suggest about ½ teaspoon of salt and ¼ teaspoon of black pepper to start. Then whisk everything together thoroughly. This ensures the seasoning is evenly spread and that there are no lumps lurking in your flour.
For substitutions, if you’re out of cornmeal, masa harina or a coarser gluten-free flour mix can work well. You can read more about gluten-free flour swaps that actually work in frying recipes.
Step 4: Combine Wet and Dry Mixtures – Gently
Now, the fun part—bring it all together. Slowly add the dry mixture into the wet mixture, folding it gently with a spatula or wooden spoon. Don’t overmix. Gluten-free flours are touchy; stir just until combined. A few streaks of flour are totally fine. Let the batter rest for 5–10 minutes. This brief nap allows the flour to fully hydrate and thickens the batter, making it easier to scoop and fry.
If your batter feels too thin after resting, you can add a tablespoon more flour. Too thick? A splash of milk or water should do the trick.
Step 5: Heat the Oil for Frying
In a deep skillet, Dutch oven, or heavy-bottomed pot, pour in vegetable or canola oil to a depth of about 2 inches. You want enough oil for the hushpuppies to float and cook evenly. Heat the oil over medium-high until it reaches 350–375°F. A deep-fry thermometer is your best friend here, but if you don’t have one, drop a tiny bit of batter in. If it sizzles and starts browning after 45–60 seconds, you’re good to go.
Pro Tip: Maintaining the right oil temp is crucial. If the oil’s too cold, your hushpuppies will turn greasy. Too hot, and the outside burns while the inside stays raw.
Check out our guide to frying at home without fear for extra safety tips and tricks.
Step 6: Fry the Hushpuppies in Batches
Once your oil is ready, grab a heaping teaspoon or small cookie scoop. Gently drop spoonfuls of batter into the oil. Fry in small batches—6 to 8 hushpuppies at a time is ideal, depending on your pot size. They’ll sink briefly, then rise and puff up. Let them cook for about 2–3 minutes per side until beautifully golden brown.
Use a slotted spoon or tongs to gently flip them halfway through. Some may flip themselves like they’ve got a mind of their own (and that’s fine too). Keep an eye on the color—it should be a rich, even golden brown all around.
Want even more crispy sides to pair with this recipe? Try our Honey Feta Sweet Potato Rounds for a fun and flavorful combo.
Step 7: Drain on Paper Towels
Once golden and cooked through, transfer the hushpuppies to a plate lined with paper towels. This step helps soak up any extra oil and keeps them nice and crisp. Don’t stack them too quickly—let them rest in a single layer so they stay crunchy instead of steaming each other soft.
If you’re serving a crowd, you can keep batches warm in a 200°F oven on a wire rack while you finish frying.
Step 8: Serve Hot and Enjoy
Now comes the best part—dig in while they’re hot! These Perfect Gluten-Free Hushpuppies are delicious all on their own but really shine with a dipping sauce. Classic options like tartar sauce or remoulade are always winners, or try them with spicy aioli or BBQ sauce for something different.
They also pair beautifully with cozy soups like Easy Creamy Chicken Tortilla Soup or Hearty Vegetarian Gnocchi Soup.
Step-by-step, you’ve just made a batch of crispy, savory hushpuppies—gluten-free and absolutely irresistible. Whether it’s your first time frying or you’ve got oil-stained aprons from years of experience, this easy recipe is one you’ll want to make again (and again).
Let us know how yours turned out or tag us on social with your crispy creations! And if you loved this recipe, don’t miss our guide to freezing and reheating hushpuppies like a pro.
What to Serve with Perfect Gluten-Free Hushpuppies
Hushpuppies love company. They’re often seen hanging out with fried catfish, BBQ ribs, or a plate of shrimp and grits. But they also make a fantastic sidekick for soups and stews, especially if you’re making something like Easy Spiced Carrot and Sweet Potato Soup or Hearty Bok Choy Chicken Soup. Serve them with a tangy dipping sauce—tartar, remoulade, even a spicy honey mustard. Want to go all in? Make a Southern-inspired dinner with Best Scalloped Sweet Potatoes on the side and finish with Biscoff Blondies for dessert.
Key Tips for Making Perfect Gluten-Free Hushpuppies
Room temp eggs help your batter mix smoothly—don’t skip that step. Don’t overmix the batter, either. Gluten-free flour can get gummy when worked too hard. Letting the batter rest for 5–10 minutes is key—it thickens up and gives the flour time to hydrate, which helps hushpuppies hold together. If they’re falling apart in the oil, your batter might be too thin—add a tiny bit more flour.
Always fry in batches; overcrowding cools down the oil and leads to soggy hushpuppies. And for the love of crunch, use a thermometer if you can. If your oil’s too cool, you’ll get greasy hushpuppies. Too hot and they’ll burn before cooking through. Oh, and taste the batter before frying. Gluten-free flour can be bland without proper seasoning.
Storage and Reheating Tips for Perfect Gluten-Free Hushpuppies
If you somehow have leftovers (unlikely, but hey, maybe you made a double batch), let them cool completely before storing. Pop them in an airtight container and refrigerate for up to 3 days. To reheat, avoid the microwave unless you like sad, rubbery hushpuppies. Instead, toss them on a baking sheet and reheat in a 375°F oven for about 8–10 minutes. Want that fresh-out-of-the-fryer crisp? Use an air fryer at 350°F for 5–6 minutes. If freezing, flash freeze them on a baking sheet first, then store in a freezer-safe bag for up to 2 months. Reheat from frozen in the oven or air fryer—no need to thaw.
FAQs
Can I make these dairy-free too?
Yes! This recipe is already dairy-free if you skip the dipping sauces with dairy.
Can I bake instead of fry?
You can, but let’s be honest—they won’t be quite the same. Try an air fryer for a happy middle ground.
Why are my hushpuppies falling apart?
Your batter may be too wet. Let it rest a bit longer or add a spoonful of flour to thicken.
What gluten-free flour blend is best?
Use one with xanthan gum or guar gum—it helps hold everything together.
Final Thoughts
Perfect Gluten-Free Hushpuppies are the crunchy, golden treat you didn’t know you needed. They’re easy, fast, and totally satisfying—without any of the gluten or the guesswork. Whether you’re serving them up with a bowl of soup or as the main event at your next gathering, these hushpuppies will win hearts and taste buds. So go ahead, fry up a batch. They’re the crispy, crowd-pleasing, dip-worthy snack that delivers every single time.
Visit our Pinterest for regular slow cooker recipe updates, or join our Facebook discussions where cooking fans exchange their favorite hearty meal ideas.
PrintPerfect Gluten-Free Hushpuppies – Easy, Crispy, Crowd Favorite

These perfect gluten-free hushpuppies are crispy on the outside, tender on the inside, and packed with sweet and savory flavor from onions, cornmeal, and just the right hint of sugar. Deep-fried to golden perfection, they make an irresistible appetizer or side dish everyone will love.
- Prep Time: 15 minutes
- Cook Time: 15 minutes
- Total Time: 30 minutes
- Yield: 12-16 hushpuppies
- Category: Appetizer
- Method: Deep Frying
- Cuisine: Southern
Ingredients
- 2 large eggs
- 1/2 cup granulated sugar
- 1 medium onion, finely chopped
- 1/2 cup gluten-free cornmeal (or corn flour alternative)
- 1/2 cup gluten-free all-purpose flour blend
- Salt and pepper to taste
- Vegetable oil or canola oil, for deep frying
- Optional: hushpuppy dipping sauce (remoulade, tartar sauce, honey mustard, etc.)
Instructions
1. In a large mixing bowl, crack the 2 large eggs. Ensure they are at room temperature.
2. Add the 1/2 cup granulated sugar to the bowl with the eggs.
3. Beat the eggs and sugar together until well combined and slightly frothy.
4. Add the finely chopped onion to the egg and sugar mixture and stir to combine.
5. In a separate bowl, whisk together the gluten-free cornmeal, gluten-free all-purpose flour blend, salt, and pepper.
6. Gradually fold the dry ingredients into the wet ingredients using a spatula until just combined. Let the batter rest for 5-10 minutes.
7. Pour oil into a deep fryer or heavy-bottomed pot to a depth of at least 2 inches and heat to 350–375°F (175–190°C).
8. Once the oil is ready, carefully drop heaping teaspoons of batter into the hot oil. Fry in batches to avoid overcrowding.
9. Fry for 4–6 minutes, turning occasionally, until the hushpuppies are golden brown and cooked through.
10. Remove with a slotted spoon and drain on paper towels to remove excess oil.
11. Serve immediately while hot and crispy, with optional dipping sauces if desired.
Notes
For best results, use room-temperature eggs and a quality gluten-free flour blend containing xanthan gum or similar.
Resting the batter helps hydrate the flours and improves texture.
You can grate the onion for a finer texture—just be sure to squeeze out excess moisture.
Serve with remoulade, tartar sauce, honey mustard, or your favorite dipping sauce.